

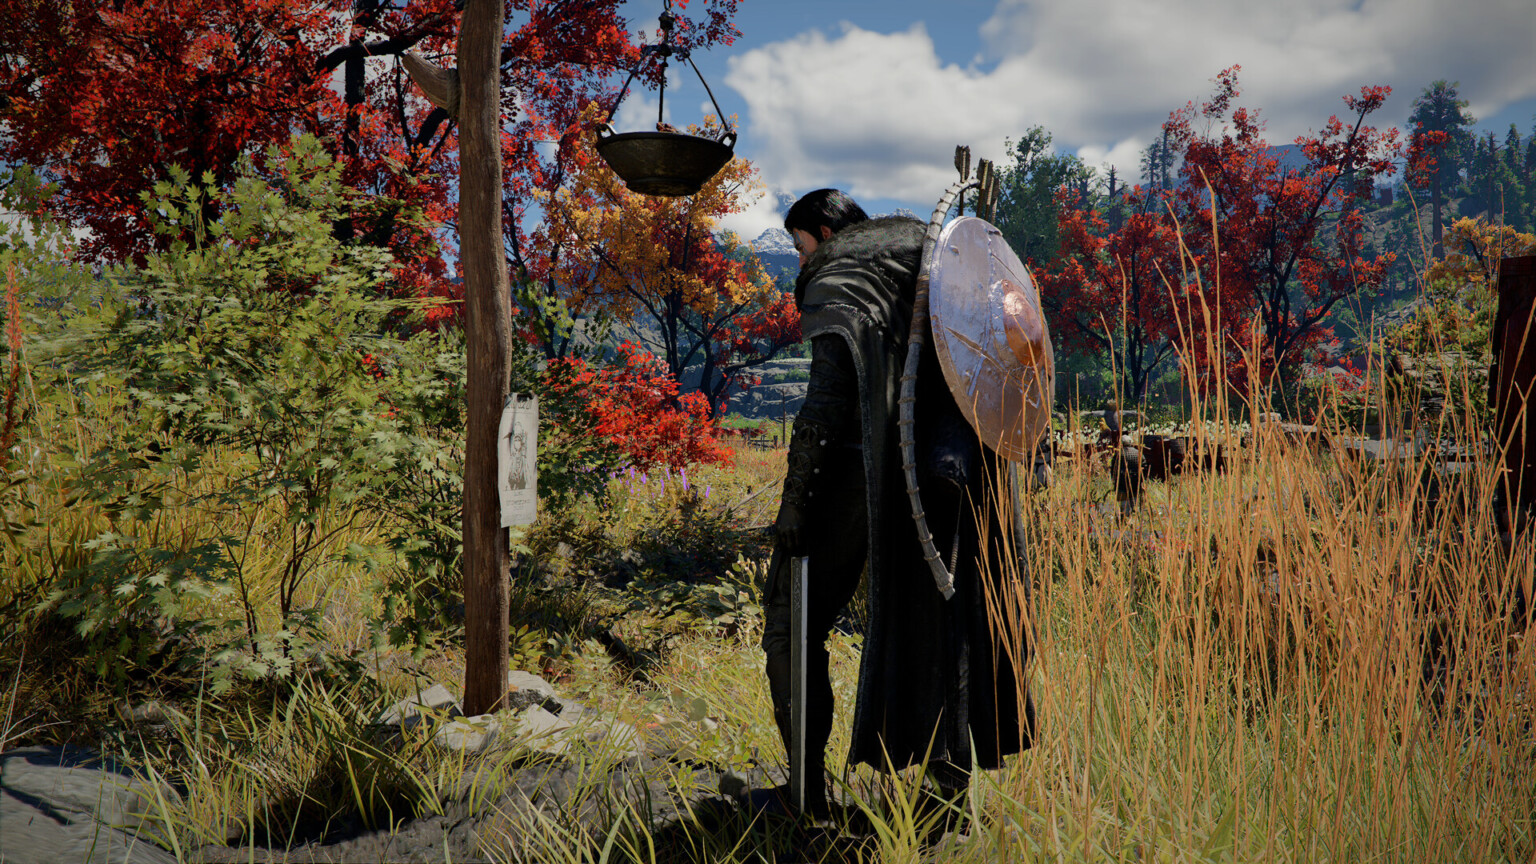
Abyss Artifacts are essential in Crimson Desert for powering up your skills and progressing efficiently. These items fill a hidden yellow XP bar next to the minimap. Every time the bar fills completely, you earn one Abyss Artifact with no upper limit on how many you can obtain through combat.
Players need hundreds of these for full skill tree unlocks, making efficient farming crucial. Whether you’re early-game or endgame, several reliable methods exist—from dense enemy camps to clever pickpocketing and repeatable boss runs.
Understanding Abyss Artifact Mechanics
The yellow bar fills by defeating enemies. High-density spawns accelerate progress dramatically. Killing everything in sight during quests or in blockaded zones works well, but optimized routes yield far better results.
You can also find Sealed Abyss Artifacts as drops or in the world. Complete their associated challenges to convert them into usable ones. Abyss Puzzles and Cressets often reward artifacts too, but combat remains the fastest path for volume.
Pro Tip: Equip gear that boosts skill/Abyss EXP to multiply gains. Combine methods for the best hourly rates.
Method 1: Scholastone Institute Pickpocketing (Safe & Fast Non-Combat Farm)
This low-risk method is popular for consistent gains without heavy fighting.
How to do it:
- Equip a Thief’s Mask to reduce detection.
- Travel to the Scholastone Institute (west of Hernand).
- Use your lantern to scan scholars. Look for the glowing cube icon indicating an Abyss Artifact.
- Bump into the target, press the pickpocket prompt, and quickly run outside the red aggro zone to clear suspicion.
- For seated scholars, use flying or positioning to make them stand, then approach quickly.
Best route: Start at the nearby Abyss Nexus, cross the main bridge, and loop through scholar clusters. Repeat by moving between spots.
Yields: Players report 2–4 artifacts per 10–15 minute run. It’s safe, repeatable, and works well daytime.
Tips: If you pickpocket something else first, you may need to eliminate the target (bounty cost is usually worth it). Don’t finish certain quests that might alter NPC behavior.
Method 2: Nexus Portal Scholar Reset (Nighttime High-Yield Farm)
An even easier variant uses quick resets.
- Avoid completing (or don’t start) the Halted Research quest to keep the spot active.
- Head to the Abyss Nexus portal at night for peak spawns (4 scholars nearby).
- Scan and steal from them using the lantern/pickpocket combo.
- Interact with the same nexus portal to reset instantly—no loading screen. NPCs refresh quickly.
Yields: 7–10 artifacts per run at night; 4–6 during daytime (switch to Scholastone Institute then).
This is one of the easiest “set it and repeat” methods. Stand on the nexus for rapid refreshes in some variants.
Method 3: Enemy Pit & Blockaded Camp Farming (Classic Mob Grind)
Red building icons on the map mark blockaded enemy camps and faction-occupied zones—these are prime “Enemy Pit” locations with endless or high-density spawns.
Key spots:
- Any red-icon enemy faction region. Liberating them often involves a boss, but enemies respawn heavily until facilities are destroyed.
- Fort Perwynn and similar strongholds with the Crimson Nightmare boss—dense packs make the yellow bar fill fast.
- Chapter 3 Seed of Unease quest (before defeating Reed Devil): Farm infinite minions from totems on the mountain. Do not kill the boss to keep spawns active.
Enemy Pit Tips:
- Look for literal pits or chokepoints where guards funnel in—stand in firing pits or narrow areas so enemies jump down to you.
- Clear patrols and camps thoroughly. Use AoE skills or dragon abilities for massive clears.
- In occupied zones, destroy spawn facilities only after farming heavily.
These spots shine for raw volume and double as EXP/gold farms.
Method 4: Icewalker / Frostwalker Miniboss Farming (Fastest EXP per Kill)
Repeatable minibosses near Abyss Nexuses provide excellent artifact rates.
Prime locations (near Abyss Nexus for quick teleports):
- South of the Black Wall (east of Pailune).
- East of Wayward Woods (west of Pailune).
- Other icy mountain spots around Hernand/Pailune region.
Fight tips:
- Use your hook to pull the core for 50% stagger damage.
- Dodge ice attacks and whirlwinds by maintaining distance.
- Hook twice to shatter the boss, then burst down exposed parts.
- Important: Do not pick up the Abyss Cell after defeating it—this prevents respawn. Teleport back to the Abyss Nexus and repeat.
Yields: One artifact roughly every 2 minutes with optimized gear and execution. Each character has a soft cap around 100 from EXP before switching alts or methods. Some spots allow multi-kills.
Optimization: Pair with Abyss gear that boosts EXP. After patches, some Icewalker farms were adjusted, so test current refresh rates.
Additional Tips for Maximum Efficiency
- Combine methods: Grind mobs in pits/camps until the bar is near full, then finish with a quick boss or pickpocket run.
- Gear synergy: Farm Abyss Gear (disarm/extract from enemies or synthesis) to boost your artifact gains further.
- Time of day matters: Nighttime often boosts scholar spawns at nexus portals.
- Abyss Puzzles & Challenges: Clear them for bonus artifacts and fast travel unlocks. There are 40+ puzzles across spires.
- Early game: Focus on main quests with wave spawns and blockaded zones.
- Post-cap: Switch characters or rely more on pickpocketing/Scholastone.
- Save backups before quest-heavy farms in case you accidentally progress story flags.
Passive option: Send Greymanes to Timeworn Ruins for occasional returns, though active methods are far superior.
Final Thoughts
The best Abyss Artifact farming method in Crimson Desert depends on your playstyle. Scholastone/Nexus pickpocketing offers safe, low-effort gains, while Enemy Pit camps and Icewalker bosses deliver high-volume combat farming. Combine dense mob clears in red-icon blockaded zones with quick resets for the fastest overall progress.
Experiment in your current region—Hernand and Pailune areas host many top spots. With the right gear and routes, you can net dozens per hour, unlocking powerful skills rapidly.
Stay efficient, and you’ll dominate the desert in no time. Happy farming!