

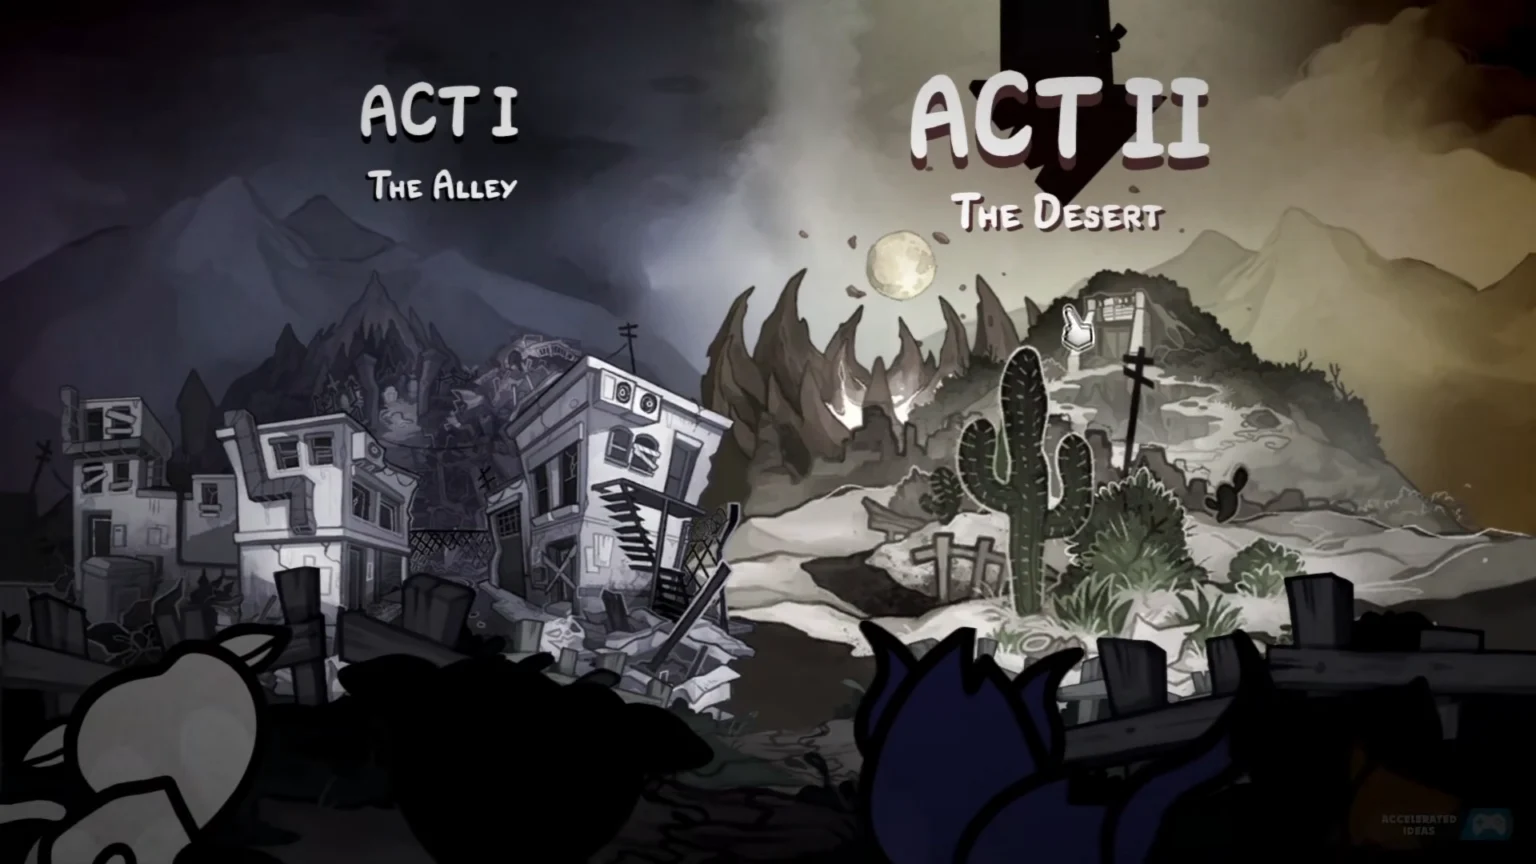
Welcome to the ultimate Mewgenics Act 2 unlock guide! If you’re deep into Edmund McMillen’s feline roguelike masterpiece, you’ve probably conquered Act 1’s Boneyard and Caves, only to hit a progression wall. Act 2 ramps up the challenge with scorching deserts, claustrophobic bunkers, eerie lunar landscapes, and game-changing secrets like The Rift. This guide covers how to unlock Act 2, step-by-step Desert access, Bunker paths, Moon secrets, plus Crater/Core strategies, home bosses, and pro tips for survival. Whether you’re F2P grinding collars or chasing 100% completion, we’ll get your cats to the moon (literally). Spoilers ahead—grab your water bottles and let’s pounce!
Prerequisites: Mastering Act 1 for Act 2 Access
Before Act 2’s sands shift under your paws, you must fully map Act 1. The game hides progression behind exploration—standard paths won’t cut it.
Unlock Steps:
- Complete The Boneyard (right path): Navigate bone-strewn ruins, defeat bosses like Fenrir (ranged attacks to avoid knockback).
- Complete The Caves (left path): Squeeze through dark tunnels, sacrifice a cat at the altar for full access.
- Trigger Cinematic: Both completions unlock a cutscene, revealing The Desert as Act 2’s hub.
Time Estimate: 2-5 hours for new players. Stock clerics for healing—Act 2 lacks regen.
| Act 1 Area | Requirement | Reward |
|---|---|---|
| Boneyard | Story clear | Right path map |
| Caves | Altar sacrifice | Left path map |
| Act 2 Trigger | Both clears | Desert unlock |
Pro Tip: Farm collars (classes) in Act 1—Ranger (7+ damage) shines in Act 2.
Desert Location Access: Your Act 2 Gateway
The Desert is Act 2’s starting biome—arid wastes with thirst mechanics, sandstorms, and mirage enemies. Unlocked automatically post-Act 1 cinematic.
Access Guide:
- Entry: Select from world map. Bring water bottles (craft/buy)—dehydration kills fast.
- Hazards: Heat damage (regen nerfed), burrowing foes. Prioritize water sources.
- Paths: Branches to Bunker (left, tech-heavy) and Crater (right, volcanic).
- Boss: Zodiac/Gambit: Arena explosions—dodge Wrath (AoE blast). Ranged clerics mandatory.
Survival Tips:
- Build: Tank (high HP) + Ranger (damage) + Cleric (spot heals).
- Items: Water bottles (extinguish fire/dehydrate), Putrid Leech (heal on artery hits).
- Clear Time: 20-40 mins. Home for resupply.
| Desert Threat | Counter | Loot |
|---|---|---|
| Sandstorm | Water bottle | HP regen |
| Burrowers | AoE attacks | Collars |
| Heat | Cleric heals | Batteries |
Beat Desert once → unlocks Bunker & Crater.
Bunker Paths: Tech Terrors and Core Access
The Bunker (Fallout vibes) unlocks after first Desert clear. Claustrophobic corridors, radiation traps, robotic sentries.
Path Breakdown:
- Entry: Left from Desert. Radiation zones—need anti-rad items.
- Key Rooms: Johnny boss (melee frontal avoid Consume). Puzzle doors (hunt keys).
- Endgame: The Core—complete Bunker run. Spawns Pyrothina (fire Kaiju) at home.
- Monolith: Obelisk at end—activate post-boss for secrets.
Boss: Johnny: Never stand front—ranged only. Water bottles douse fire adds.
Strategies:
- Team: Psychic (Moon unlock for buffs) + high-Con tanks.
- Loot: +4 Intelligence collar (Bunker clear).
- Paths: Linear with branches—explore for batteries (power puzzles).
| Bunker Challenge | Solution | Reward |
|---|---|---|
| Radiation | Anti-rad serum | Keys |
| Robots | EMP items | Tech collars |
| Core Boss | Ranged DPS | Pyrothina summon |
Core clear → Pyrothina fight at home (fire breath—water essential). Item: Burning Orb for Moon secret.
Moon Access: Lunar Lunacy and Rift Secrets Revealed
The Moon unlocks via Crater (right Desert path). Zero-G jumps, madness enemies, Man in the Moon boss.
Access Steps:
- Crater Clear: Volcanic hell—devour moves kill tanks. Beat → Moon.
- Moon Mechanics: Low gravity (long jumps), hand minions (pivot to smack boss).
- Boss: Man in the Moon: Hit central hands with ranged—pivot to self-damage boss. Avoid front Consume.
- Secret Trigger: Feed Burning Orb (from Pyrothina) to boss.
Moon Secrets:
- Zaratana Summon: Moon clear → spinning Kaiju at home. Defeat for activation item.
- The Rift: Post-Pyrothina/Zaratana + monolith activations. Unique status: Ability swaps. Chaos boss—wild fights.
- Collar: Psychic (+3 Con, +2 Str, -2 Speed).
Build for Moon:
- Ranged focus (Pyrothina carry).
- Water bottles (lingering fire).
| Moon Feature | Tactic | Secret Reward |
|---|---|---|
| Hands | Ranged pivot | Boss damage |
| Zero-G | Jump pads | Hidden rooms |
| Rift | Orb feed | Ability swap |
Rift = Act 2 pinnacle—preps Act 3 Lab.
Full Act 2 Unlock Tree & Home Bosses
| Area | Unlock Req | Leads To | Home Boss |
|---|---|---|---|
| Desert | Act 1 both paths | Bunker/Crater | N/A |
| Bunker | Desert clear | Core | Pyrothina |
| Crater | Desert clear | Moon | N/A |
| Core | Bunker clear | Monolith | N/A |
| Moon | Crater clear | Rift (secret) | Zaratana |
| Rift | Orb + Monoliths | Act 3 | Chaos |
Home Boss Fights:
- Pyrothina: Fire AoE—water spam.
- Zaratana: Spin dodges—ranged kiting.
Act 2 Survival Tips & Builds
Act 2 spikes difficulty—no regen, status heavies.
General Tips:
- Water Bottles: Desert staple—stockpile.
- Clerics: HP cats mandatory.
- Collars: Bunker (Int), Moon (Psychic).
- Quests: Black Shard (Moon clear → Zaratana).
- Runs: 30+ hours gear farming advised.
Meta Builds:
| Role | Collar/Stats | Items |
|---|---|---|
| Tank | High Con | Anti-rad, Water |
| DPS | Ranger (7+ dmg) | Leech, EMP |
| Heal | Cleric | Bottles, Serums |
Act 2 Routine:
- Desert farm (water).
- Branch clears.
- Home bosses → Rift.
Common Pitfalls & Advanced Secrets
- Pitfall: No water → instant deaths.
- Secret: Throbbing Artery (Boneyard)—Putrid Leech cheese.
- Act 3 Tease: Lab via Core/Moon.
Conclusion: Pounce into Act 2 Mastery
Act 2’s Desert-to-Moon journey transforms Mewgenics—unlocks via Act 1 doubles, secrets in orbs/monoliths. Farm smart, hydrate, and Rift awaits. Questions? Drop below. Happy catting!

