

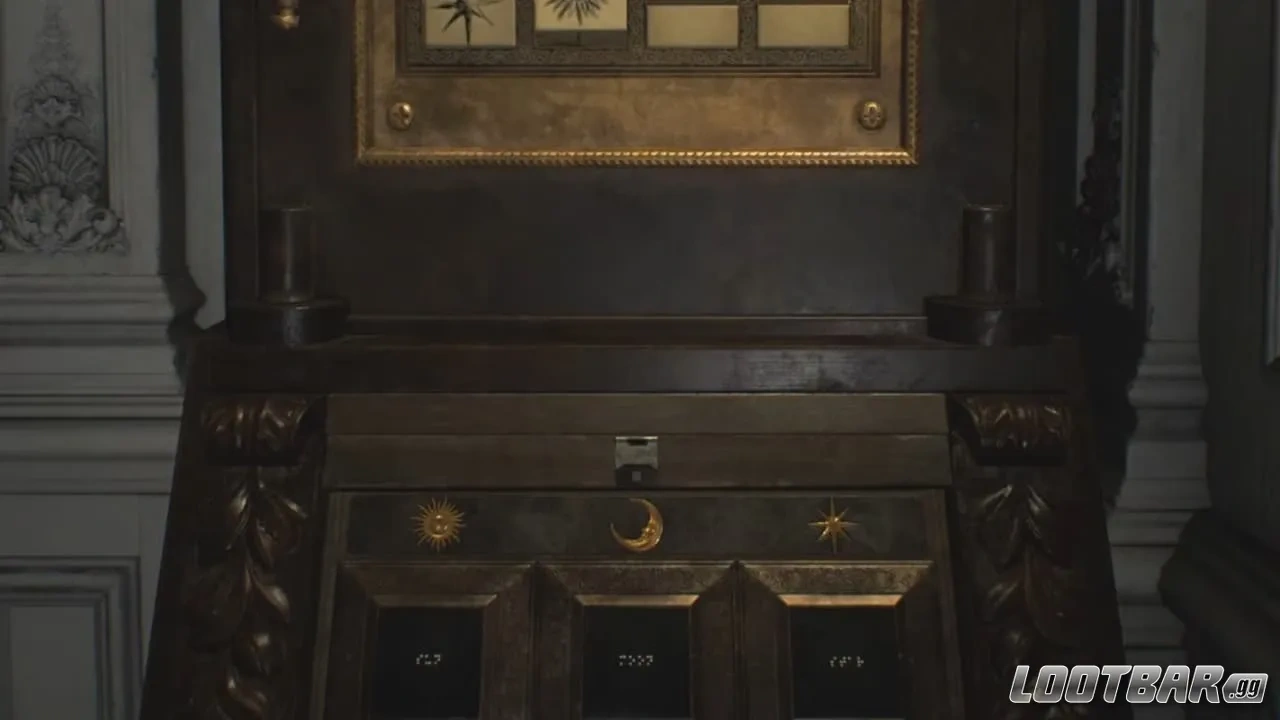
Here’s a complete Resident Evil Requiem (RE9) puzzle solutions guide, covering all the major puzzles you asked about. These are based on the standard story progression in the Rhodes Hill Care Center and beyond (primarily as Grace). Solutions are for normal/casual difficulty unless noted—some safes and puzzles have different combinations on Insanity mode.
Note: Puzzle boxes use Sun/Moon/Star symbols. Blood specimen analyzer puzzles involve clicking cube/sphere nodes in a grid to “analyze” them for crafting unlocks. Always check files and clues in the room for hints.
Puzzle Box Solutions (Sun/Moon/Star)
These locked boxes appear early in the care center and reward Quartz items (used to open central doors) plus story items.
- Chairman’s Office Puzzle Box (West Wing, 2F):
Solution: Moon – Sun – Star – Moon
Hint: Use the pencil from the back room on the notebook on the lounge table to reveal the symbols via shading.
Reward: Moon Quartz. - Lead Researcher’s Office Puzzle Box (East Wing, 2F):
Solution: Star – Sun – Moon – Sun
Hint: Examine photographs or items in the room.
Reward: Sun Quartz + Leatherbound Notebook (contains the Organ Transport Box diagram). - Security Manager’s Office Puzzle Box (or third variant):
Solution: Star – Star – Moon – Sun
Note: This one uses Braille (symbols may be wiped). A companion character (e.g., Emily) can solve it automatically in some sections.
Insert the moon and sun quartz into the front door mechanism in the Central Hall to progress.
Organ Transport Box Solution
This is a mechanical panel puzzle on the back of the box (examine it in inventory and rotate to access the rear panel). It contains artificial lungs (needed with the artificial heart for the organless corpse puzzle).
Step-by-step solution (follow the diagram in the leather-bound notebook from the lead researcher’s office):
- Rotate the large circular switch from AUTO to HAND.
- Move the far-right slider/switch up to the middle position.
- Flip the yellow 5 switch down.
- Flip the yellow 2 switch down.
- Rotate the circular switch back from HAND to AUTO.
If you mess up, hit Reset. The box opens, giving you the artificial lungs.
Tip: Place the artificial heart first on the organless corpse in the examination room, then use the lungs from the box.
All Blood Specimen Analyzer Solutions
These are mini-grid puzzles in the Blood Lab/Analyzer machine (Care Center). Analyzing them unlocks crafting recipes (ammo, injectors, etc.).
- Blood Specimen (Denatured) (Purple sample, Blood Lab):
Solution: Click the left middle square (or second grey cube in some descriptions). One-step solve. - Blood Specimen (Converged):
Solution: Click the top middle square → then the second square from the bottom (two steps). - Blood Specimen (Reversible):
Solution: Click the bottom-left corner square → middle square → top-right square → second square from the topmost one (four steps). - Blood Specimen (Polymerized) (Insanity difficulty only, often in the Records Room):
Solution: Click middle left → middle right → middle bottom.
Hint: These are found near the analyzer in the Blood Lab or East Wing. Completing them grants Handgun Ammo, Hemolytic Injectors, Med Injectors, etc.
All Safe Codes
Safes contain antique coins, ammo, med injectors, Molotovs, and collectibles. Codes vary slightly by difficulty.
Normal/Casual Codes:
- Examination Room Safe (Care Center): Right 30 – Left 10 – Right 50
- Bar & Lounge Safe (West Wing 2F): Left 10 – Right 80 – Left 30 (or Right 20 – Left 50 – Right 30 in some reports)
- Basement Safe: Right 60 – Left 40 – Right 80
- Sterilization Chamber Safe (ARK section): Right 10 – Left 90 – Right 20
- Monitor Control Room Safe: Left 50 – Right 60 – Left 80 (or similar variants)
Insanity Mode Variations (common differences):
- Examination Room: Left 50 – Right 30 – Left 90
- Bar & Lounge: Right 20 – Left 50 – Right 30
- Basement: Left 70 – Right 50 – Left 20
- Sterilization Chamber: Left 80 – Right 50 – Left 0
- Monitor Control Room: Right 20 – Left 0 – Right 70
Hints: Codes are usually on nearby files, documents, or desks (e.g., “Examination Room Safe Code” file). Rewards include 3x Antique Coins (early safes), ammo, and maps.
How to Solve the VIP Suite Double Helix Puzzle
This story-mandatory puzzle in the VIP Suite (Care Center Courtyard area) turns the room into a hidden elevator.
Step-by-step:
- Locate the red wine bottle (Sanguis Virginis) near the couch or display case with saws.
- Inspect the bottle and rotate the label until the grape/illustration aligns perfectly with the rest of the design.
- Open/pull apart the bottle to reveal the double helix model inside.
- Go to the central podium/lectern (metal framework in the middle of the room).
- Insert the double helix model into the matching slot.
The mechanism activates, and the entire VIP Suite descends as an elevator, opening the path forward (toward the helicopter key and underground areas). The hourglass in the room is unrelated to this puzzle but provides a hint (“U = 380,000”) for the optional “Final Puzzle” challenge.
These cover the key puzzles in the early-to-mid game. Many other minor locks (key cards, wristbands, and joint plugs) rely on exploration or combat rather than complex puzzles.
Pro Tips:
- Save often—some puzzles lock you into sections.
- Check every file/notebook; they contain diagrams or codes.
- The game has an optional ultra-complex “Final Puzzle” (game-long ARG involving severed hand scans, Marie’s Doll, blood generation, and symbol sequences like Sun-Sun-Star patterns). It’s not required for the main story.
If you’re stuck on a specific section (e.g., organless corpse, orphanage, basement plugs, or the Final Puzzle) or need Insanity-only details, let me know for more targeted help! Good luck surviving Requiem. 🧟♀️


